Sneaker Photography Tips: Capture Stunning Images for Social Media
Discover expert sneaker photography tips to capture stunning images for social media, mastering lighting, angles, and editing techniques to showcase your favorite kicks.
Elevate your sneaker game on social media with our comprehensive sneaker photography tips: how to capture stunning images for social media. Learn to highlight every detail and make your sneakers stand out from the crowd.
Mastering Lighting for Sneaker Photography
Lighting is crucial in sneaker photography. It can drastically change the look and feel of your images, highlighting textures and colors or hiding them in shadows. Understanding how to use light effectively is the first step in capturing stunning sneaker photos.
Natural Light vs. Artificial Light
Deciding between natural and artificial light depends on the look you’re aiming for and the resources available. Natural light is free and can provide soft, even illumination, while artificial light offers more control and consistency.
- Natural Light: Use during golden hour for warm tones.
- Artificial Light: Consider a softbox for diffused light.
- Avoid Direct Sunlight: Minimize harsh shadows.
Experimenting with both types of light can help you discover your preferred style and find the best lighting setup for different sneakers and environments. Pay attention to how the light interacts with the sneaker’s materials and colors to bring out its best features.
Choosing the Right Angles for Sneaker Photography
The angle from which you photograph a sneaker can completely transform its appearance. Different angles emphasize different features and can convey different impressions. Experimenting with various angles is key to finding the most flattering perspectives.
Eye-Level Shots
An eye-level shot provides a straightforward, realistic view of the sneaker. It’s a good starting point for showcasing the overall design and silhouette.
Overhead Shots
Overhead or flat-lay shots are ideal for showcasing the entire sneaker arrangement. This is a great way to highlight the sneaker’s color and design, especially when paired with complementary accessories or backgrounds.
- Show Full Layout: Capture the entire set-up.
- Use Symmetry: Arrange items symmetrically for a balanced look.
- Maximize Detail: Ensure everything is in focus.
Each angle brings a unique perspective to your sneaker photography, so don’t be afraid to explore and find what works best for the particular sneaker and your personal style. Practice makes perfect, and with each shot, you’ll refine your eye for choosing the best angles.
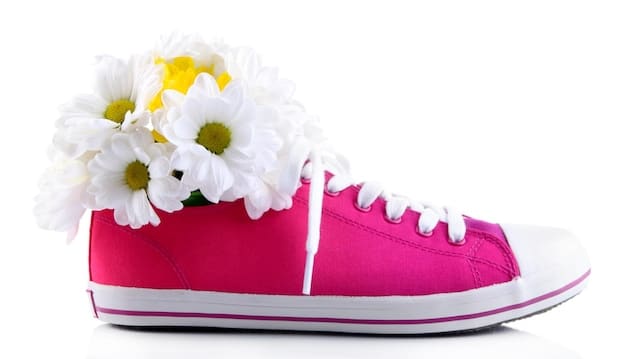
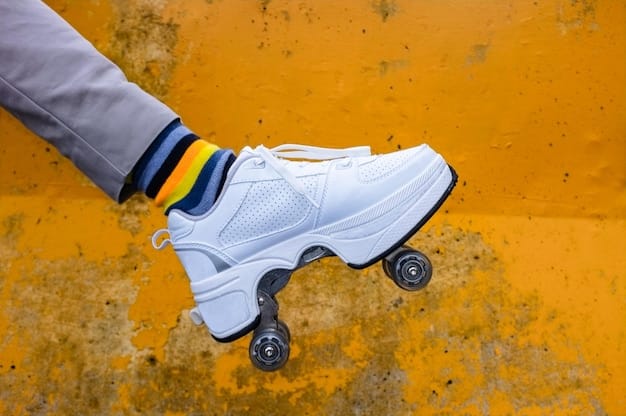
Selecting the Perfect Background for Your Sneaker Photos
The background of your sneaker photos provides context and can drastically affect the overall aesthetic. Choosing the right background helps highlight the sneakers and complement their design, while a distracting background can detract from the main subject.
Simple Backgrounds
A simple background, like a plain wall or a clean surface, ensures the focus remains on the sneaker. This approach is excellent for showcasing the sneaker’s design and details without distractions.
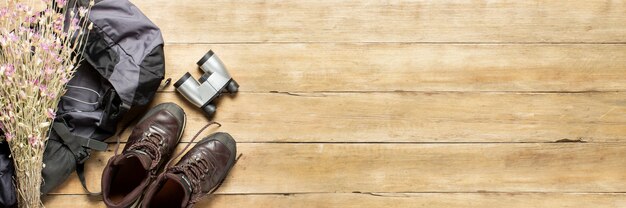
Backgrounds with Context
Incorporating backgrounds that reflect the sneaker’s environment or use can add depth and narrative to your photos. For example, photographing running shoes on a track or basketball shoes on a court can enhance the story you’re telling.
- Urban Settings: Brick walls or graffiti for street style.
- Natural Environments: Grass or sand for outdoor vibe.
- Match the Aesthetic: Ensure the background complements the sneaker.
Experimenting with different backgrounds can help you discover what best suits the sneakers you’re shooting and the overall mood you want to create. Whether opting for simplicity or adding context, the background should enhance, not detract from, the sneakers.
Essential Equipment for Sneaker Photography
While professional equipment can enhance your sneaker photography, you don’t need expensive gear to create stunning images. Starting with essentials and gradually upgrading as your skills improve is a practical approach.
Camera Choices
Your smartphone camera is a great starting point for sneaker photography. Modern smartphones offer excellent image quality and various shooting modes. As you progress, consider investing in a DSLR or mirrorless camera for more control and higher resolution.
Tripods and Lighting
A tripod is essential for stable shots, especially in low-light conditions. Lighting equipment, such as softboxes or ring lights, can improve the quality and consistency of your images.
Investing in a few key pieces of equipment can significantly enhance the quality and consistency of your sneaker photography. Starting with a good camera, tripod, and lighting will set you up for success and allow you to capture stunning images consistently.
Editing Techniques to Enhance Your Sneaker Photos
Editing is a crucial step in sneaker photography, allowing you to refine your images and achieve the desired look and feel. Basic editing techniques can significantly improve the visual impact of your photos.
Basic Adjustments
Start with basic adjustments like brightness, contrast, and saturation to enhance the overall appearance of your photos. Adjusting the white balance can also correct color casts and make your images look more natural.
Using Filters and Presets
Filters and presets can quickly transform your images and create a consistent aesthetic. Experiment with different options to find what best suits your style.
- Adobe Lightroom: Professional editing with detailed controls.
- VSCO: Popular filters and preset packs.
- Snapseed: Free mobile app with advanced features.
Mastering editing techniques is essential for taking your sneaker photography to the next level. By learning to make basic adjustments, correct imperfections, and experiment with filters, you can consistently produce stunning images that stand out on social media.
Building a Brand with Your Sneaker Photography
Establishing a consistent visual style is essential for building a recognizable brand on social media. Defining your niche and understanding your audience are key to creating content that resonates and attracts followers.
Finding Your Niche
Identifying what makes your sneaker photography unique is the first step in building a brand. Whether you focus on a particular sneaker style, a specific environment, or a unique editing technique, defining your niche helps you stand out.
Engaging with Your Audience
Encouraging interaction through comments, polls, and Q&A sessions helps build a community around your brand. Responding to comments and messages shows that you value your audience’s input and fosters a stronger connection.
Building a brand with your sneaker photography requires consistency, engagement, and a clear understanding of your audience. By defining your niche, creating high-quality content, and actively engaging with your followers, you can establish a recognizable brand and grow your presence on social media.
| Key Point | Brief Description |
|---|---|
| 💡 Mastering Lighting | Use natural light during golden hour or artificial light with a softbox to minimize harsh shadows. |
| 📸 Choosing Angles | Experiment with eye-level and overhead shots to highlight different sneaker features. |
| 🖼️ Background Selection | Opt for simple or contextual backgrounds that complement the sneakers and enhance their story. |
| 🛠️ Editing Techniques | Enhance photos with basic adjustments and filters to achieve a consistent aesthetic. |
Frequently Asked Questions
▼
The best lighting is often soft, diffused natural light or artificial light using a softbox. Avoid direct sunlight to minimize harsh shadows and highlight the sneakers’ details.
▼
Eye-level shots provide a realistic view, while overhead shots highlight the overall design. Experiment to find angles that best show off each sneaker’s unique features.
▼
Select simple backgrounds to keep the focus on the sneakers, or choose contextual backgrounds that enhance the story. Make sure the background complements the sneaker’s aesthetic.
▼
Start with your smartphone camera and good lighting. As you improve, consider investing in a tripod, softbox, and a DSLR or mirrorless camera for better quality.
▼
Focus on basic adjustments like brightness, contrast, and white balance. Use filters and presets to create a consistent look. Popular apps include Adobe Lightroom, VSCO, and Snapseed.
Conclusion
By mastering lighting, angles, backgrounds, and editing techniques, you can capture stunning sneaker photos that elevate your social media presence. Experiment, refine your style, and build a brand that resonates with your audience. Your perfect sneaker shot awaits!


